Assembly

ASSEMBLY

Boat Assembly, Maintenance and Handling

In this section you will obtain an understanding of the following:
  • How to assemble an IRB.
  • How to launch and recover an IRB
  • How to maintain the IRB and its Motor.
  • The need to have good maintenance schedule and records of all IRB activity.
Working with IRBs During Assembly and Maintenance

When working in the IRBs it is good practise to use the correct personal protective equipment (PPE).

The motor and other boat parts can be heavy and can cause major injury if dropped or mis-used.

Consideration should be given to wearing protective footwear, gloves and overalls when working or or repairing the IRB.
Layout and Assembly of the IRB
When assembling an IRB you need to follow the correct procedures and sequence. The flowchart overleaf takes you through the process.

Note - Care should be taken during assembly to:
  • Ensure that assembly takes place on suitable ground that has been checked for sharp objects and items that may damage the boat.
  • All suitable equipment (e.g. pumps) is available.
  • That all alignment steps are checked so that inflation can take place safely.
  • That you have discussed all roles during assembly so that if completed by a team each person knows what they are responsible for.
Please note that different manufacturers have different inflation operating pressures as given below:
  • Manufacturer                 Sponsons             Hull
  • Achilles                               3.5 psi               4.0 psi
  • Arancia                               3.5 psi               4.1 psi
  • Zodiac Milpro                    4.0 psi               5.0 psi
If your boat is already assembled please take the time before a patrol to check your IRB pressures are correct as they are essential to safe and optimum performance in all conditions.
Assembly
Maintaining the IRB

Your IRB should have an up to date servicing schedule.

A well serviced IRB ensures:
  •     Insurance accountability.
  •     Reduced downtime.
  •     Increased reliability.
  •     Marine incident accountability.
  •     Reduced long term servicing costs.
  •     Duty of care accountability.
Having a service schedule shows:

History of the boat at a glance.

A sample copy of an IRB Service Schedule is given in the Downloads section. If your club or boat does not have one please download this and begin using it.

Leaks

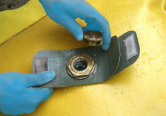
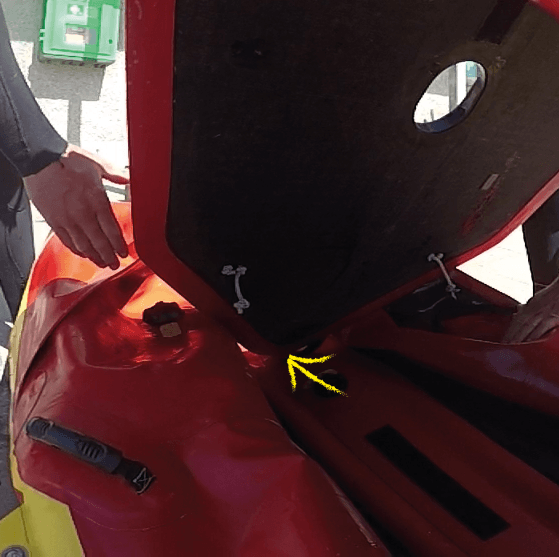
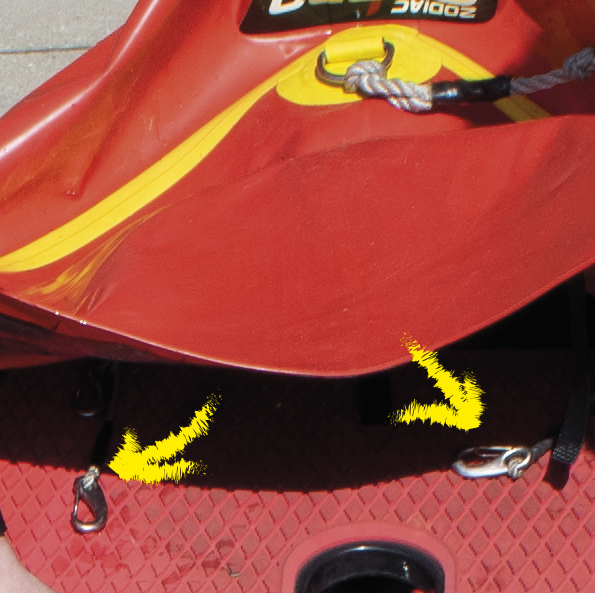
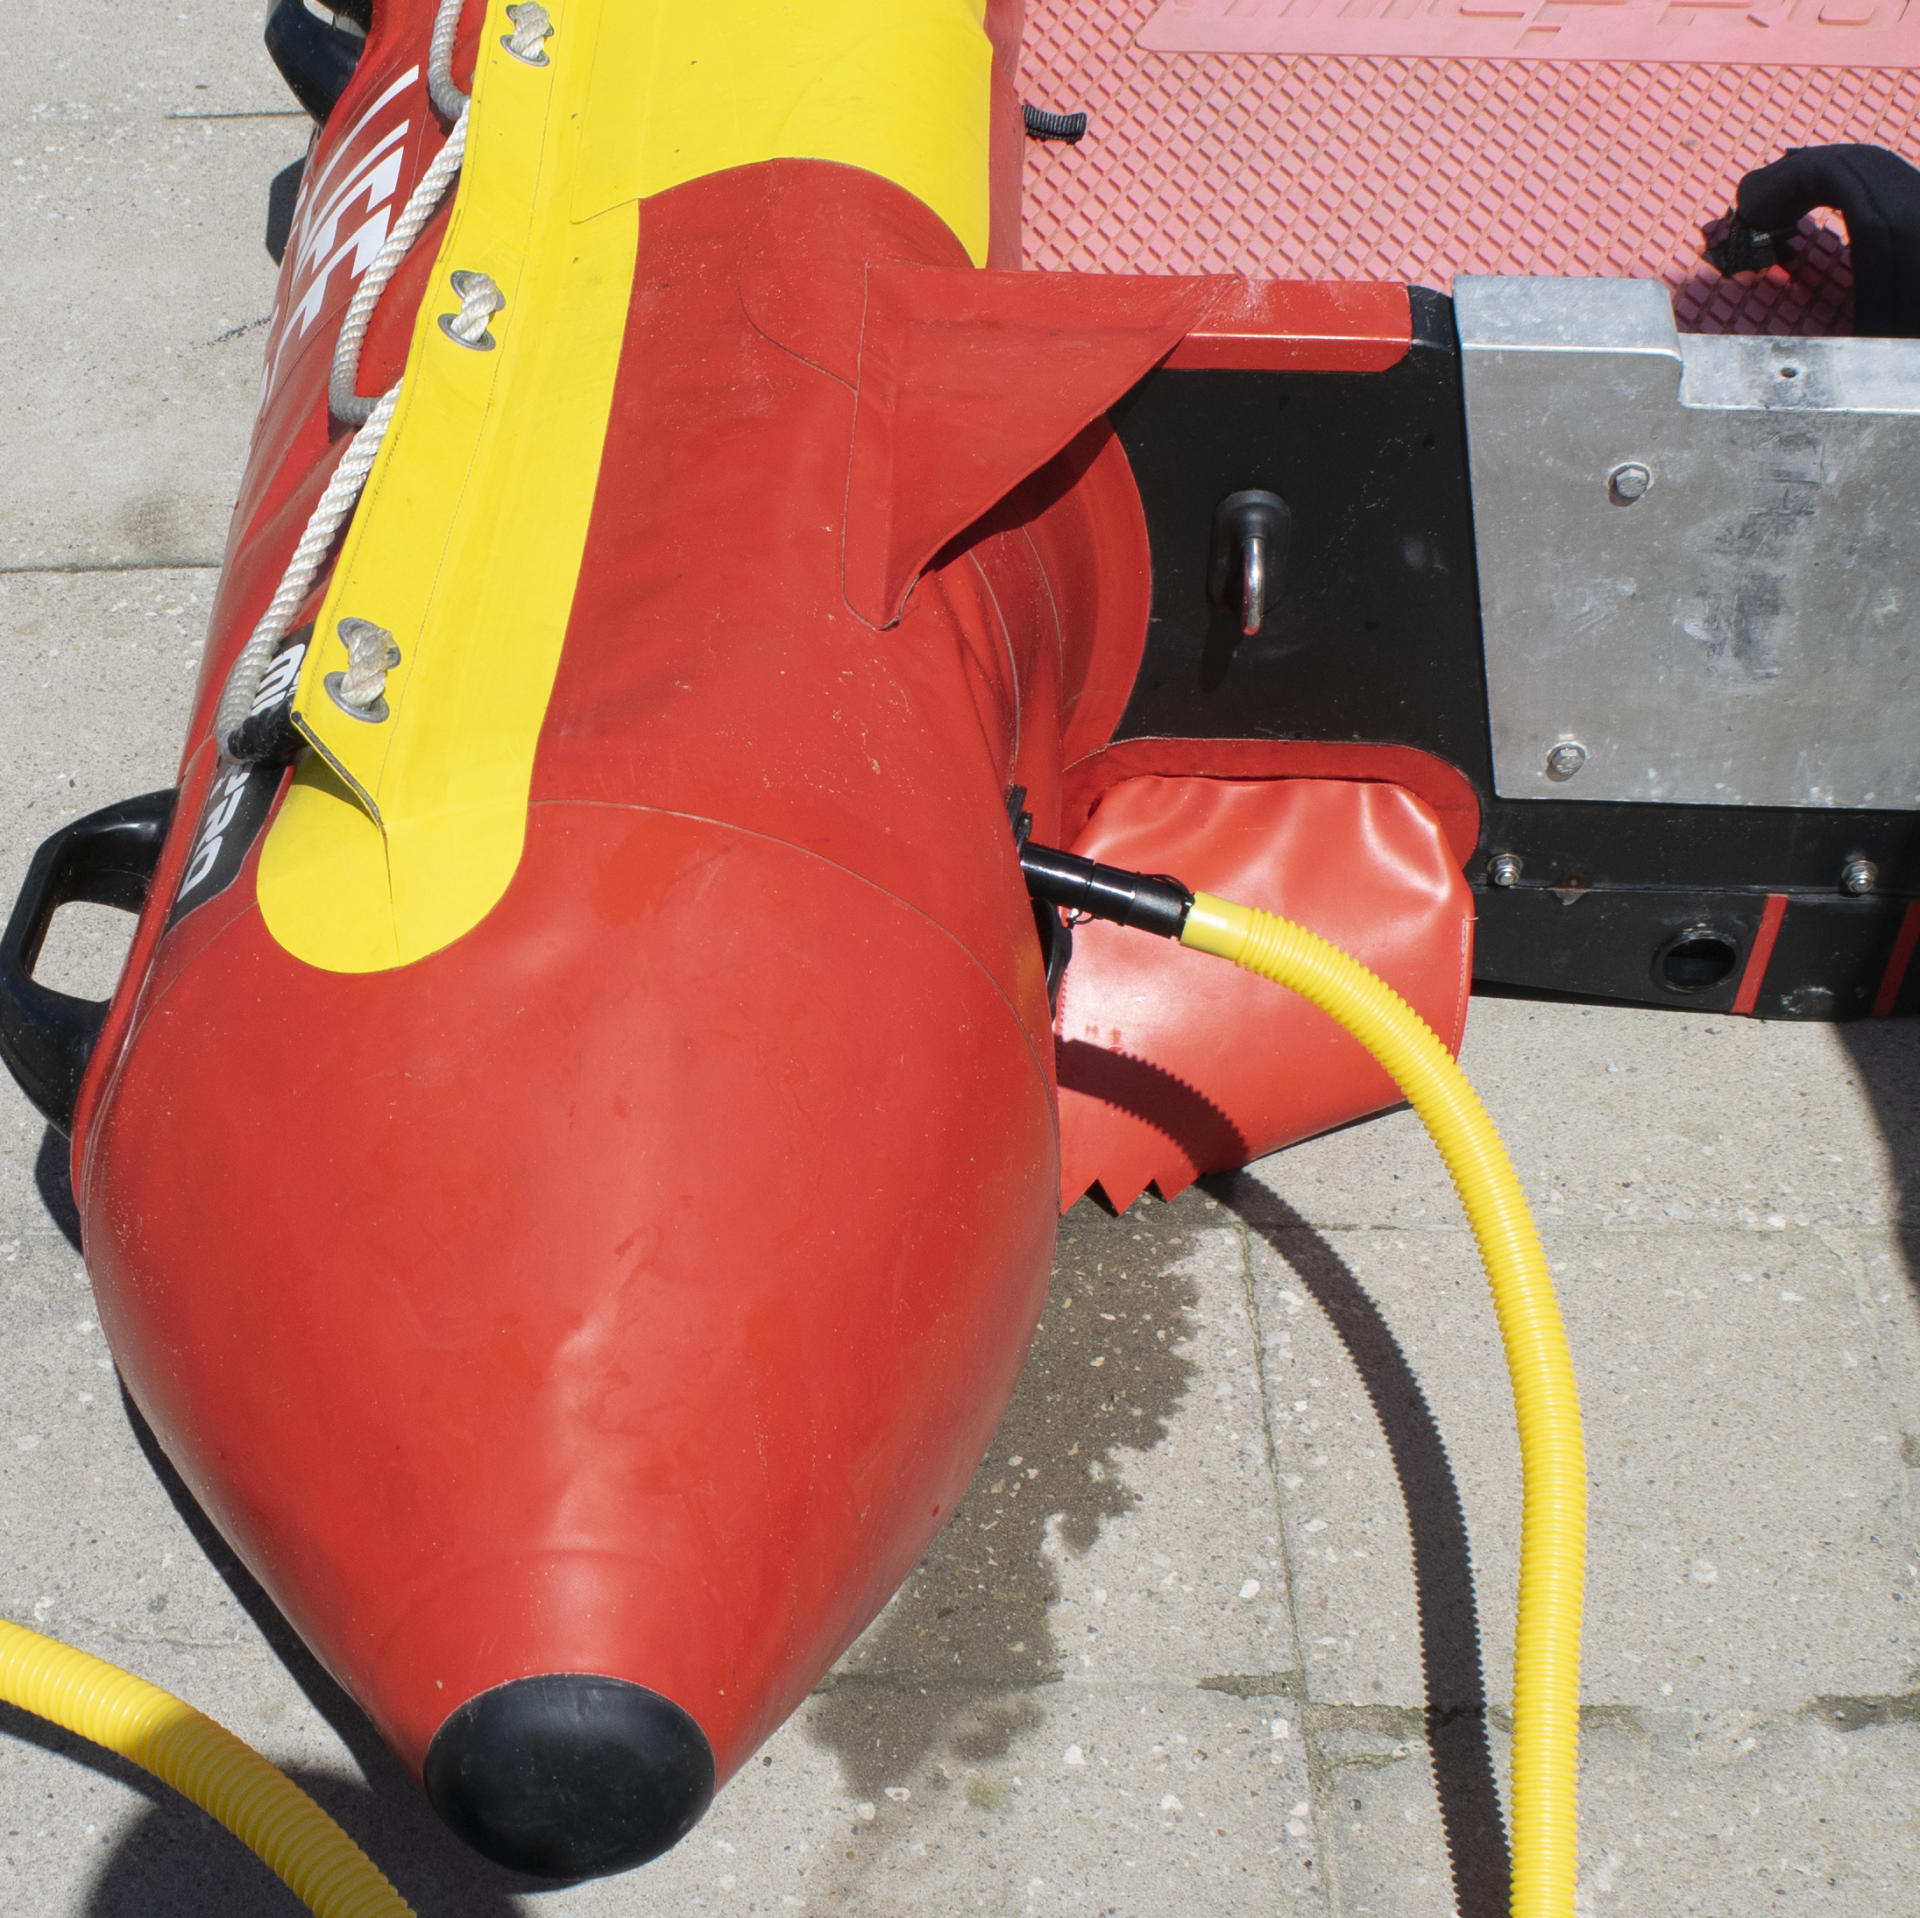
Potentially there are two main issues that can occur with a leaking IRB that will require maintenance. The first is a defective  inflation valve that results in slow leaks and a loss of sponson or keel pressure (in the case of soft hull IRB’s). The second is damage to the ‘Hyperlon’ fabric.


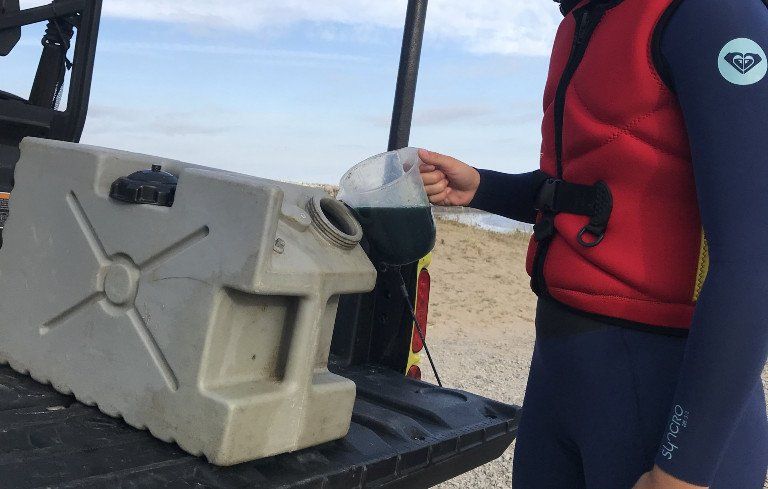
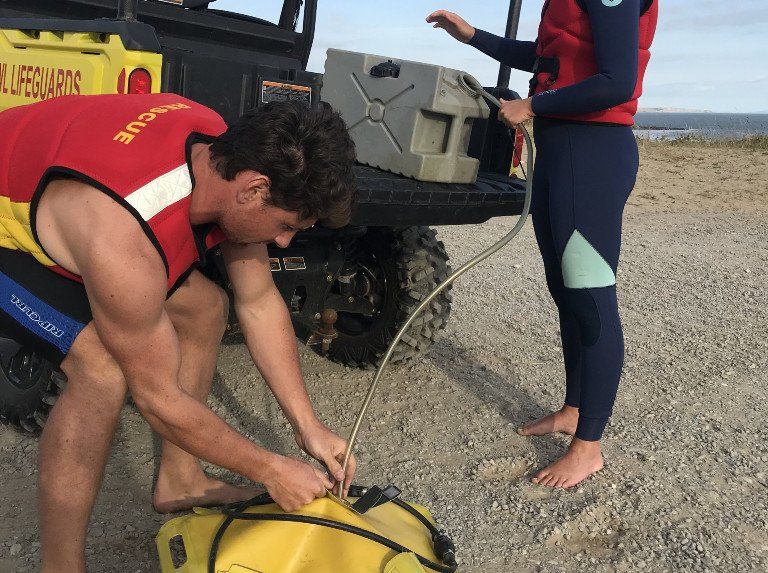
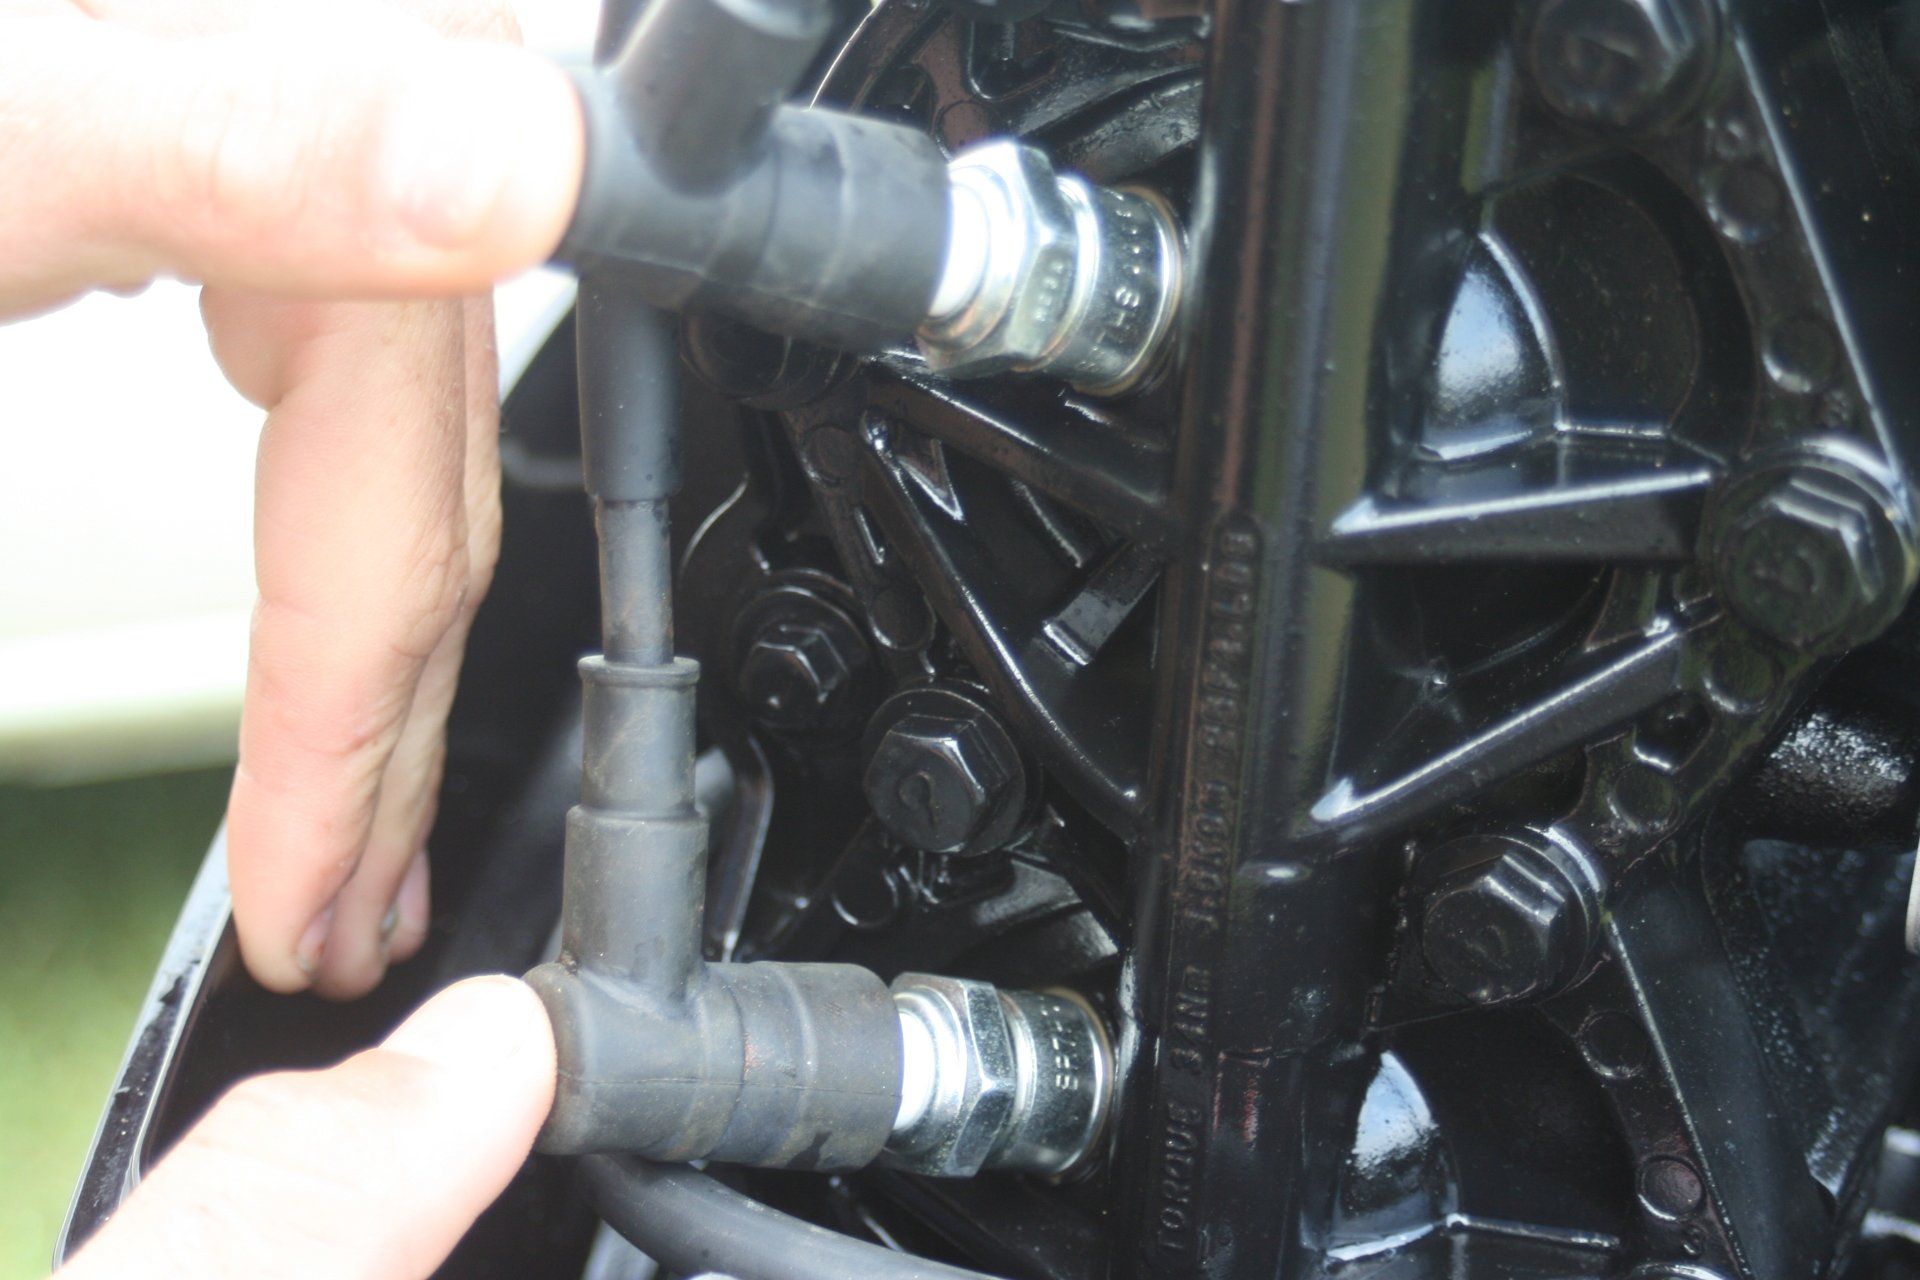
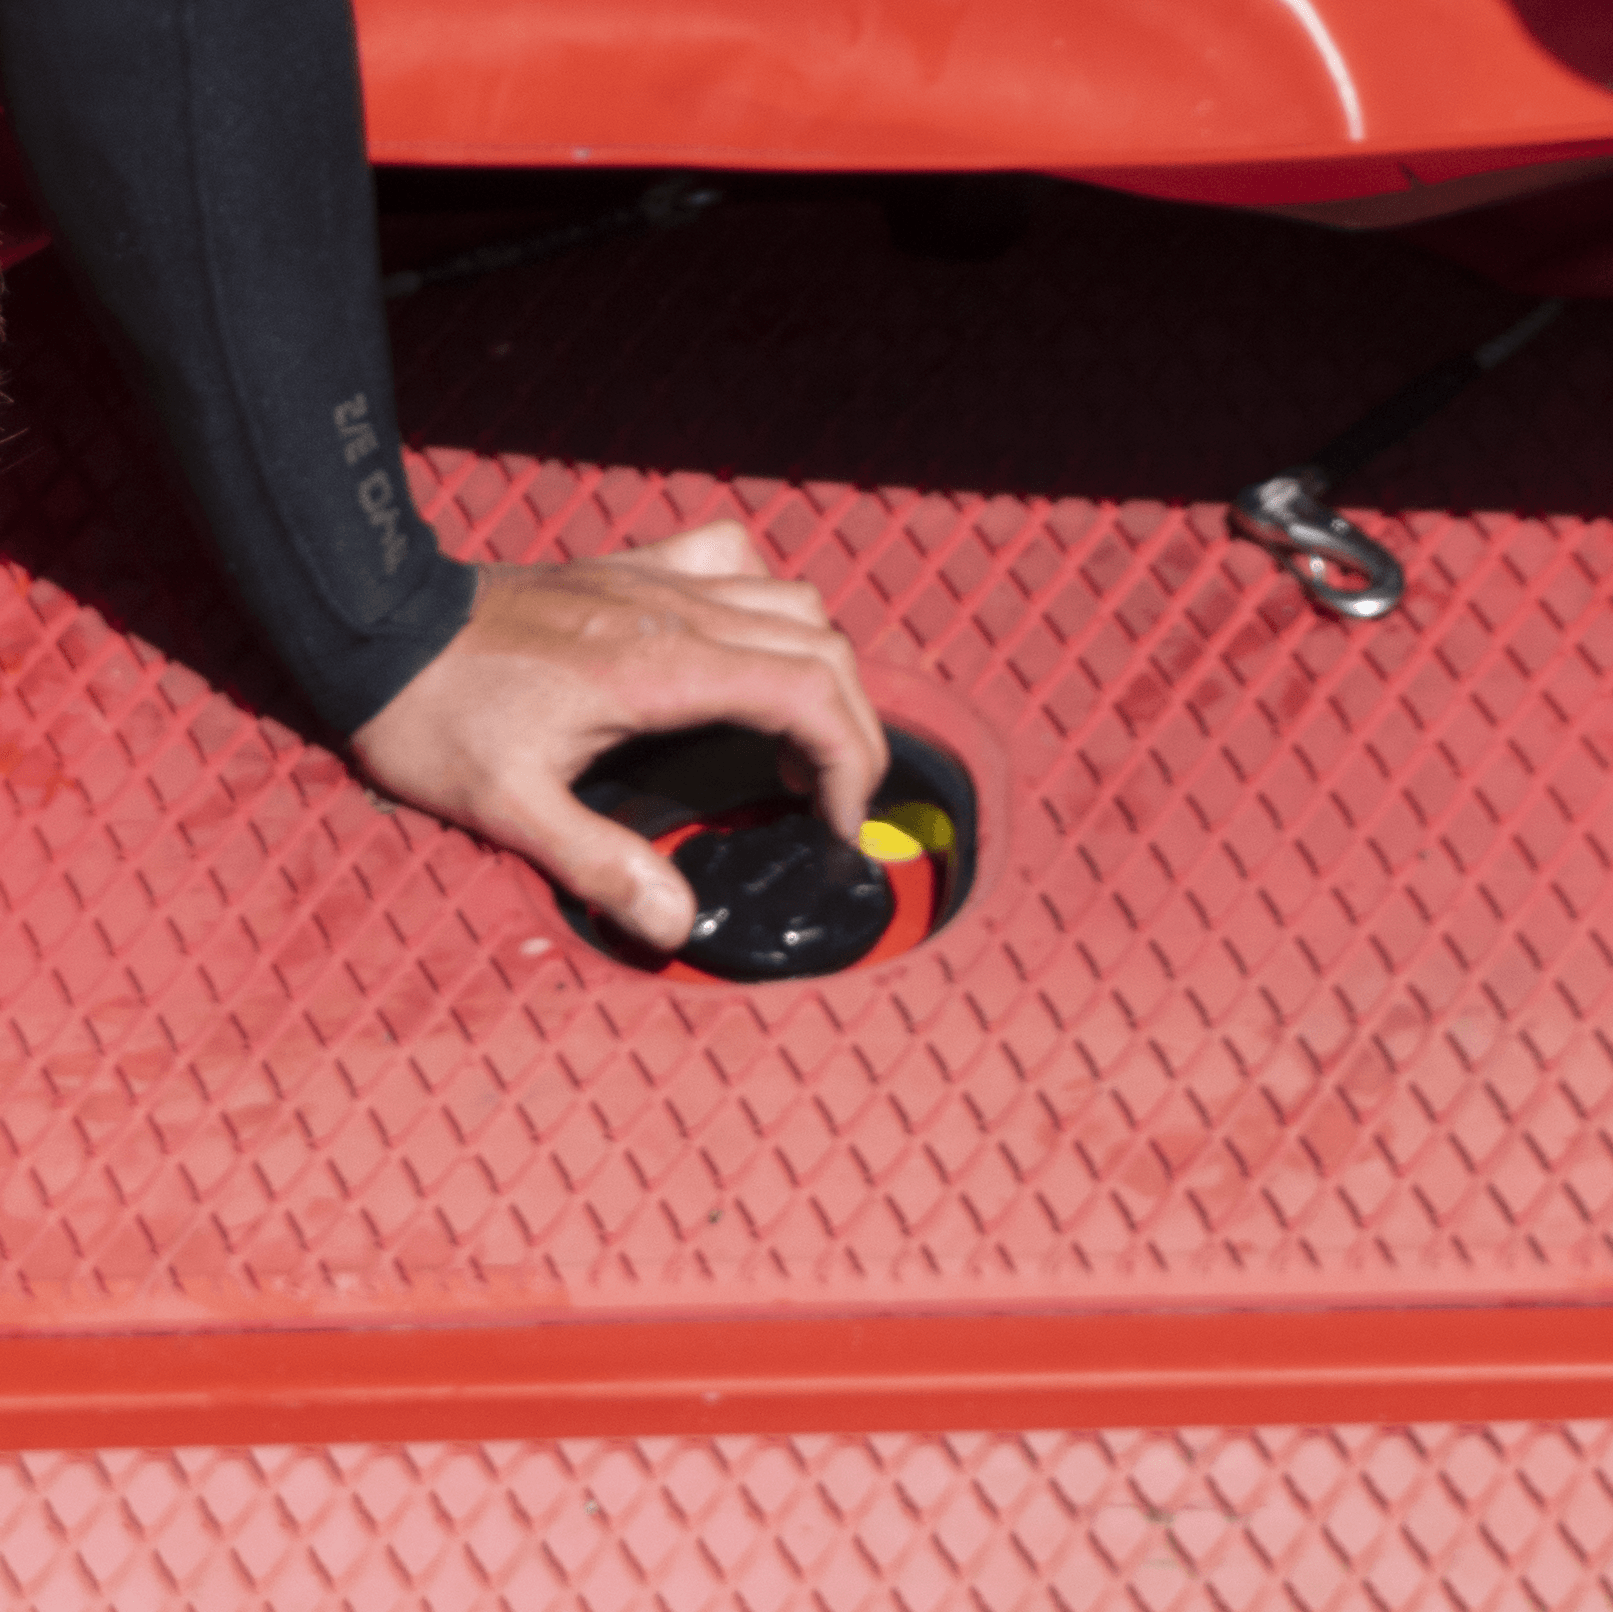
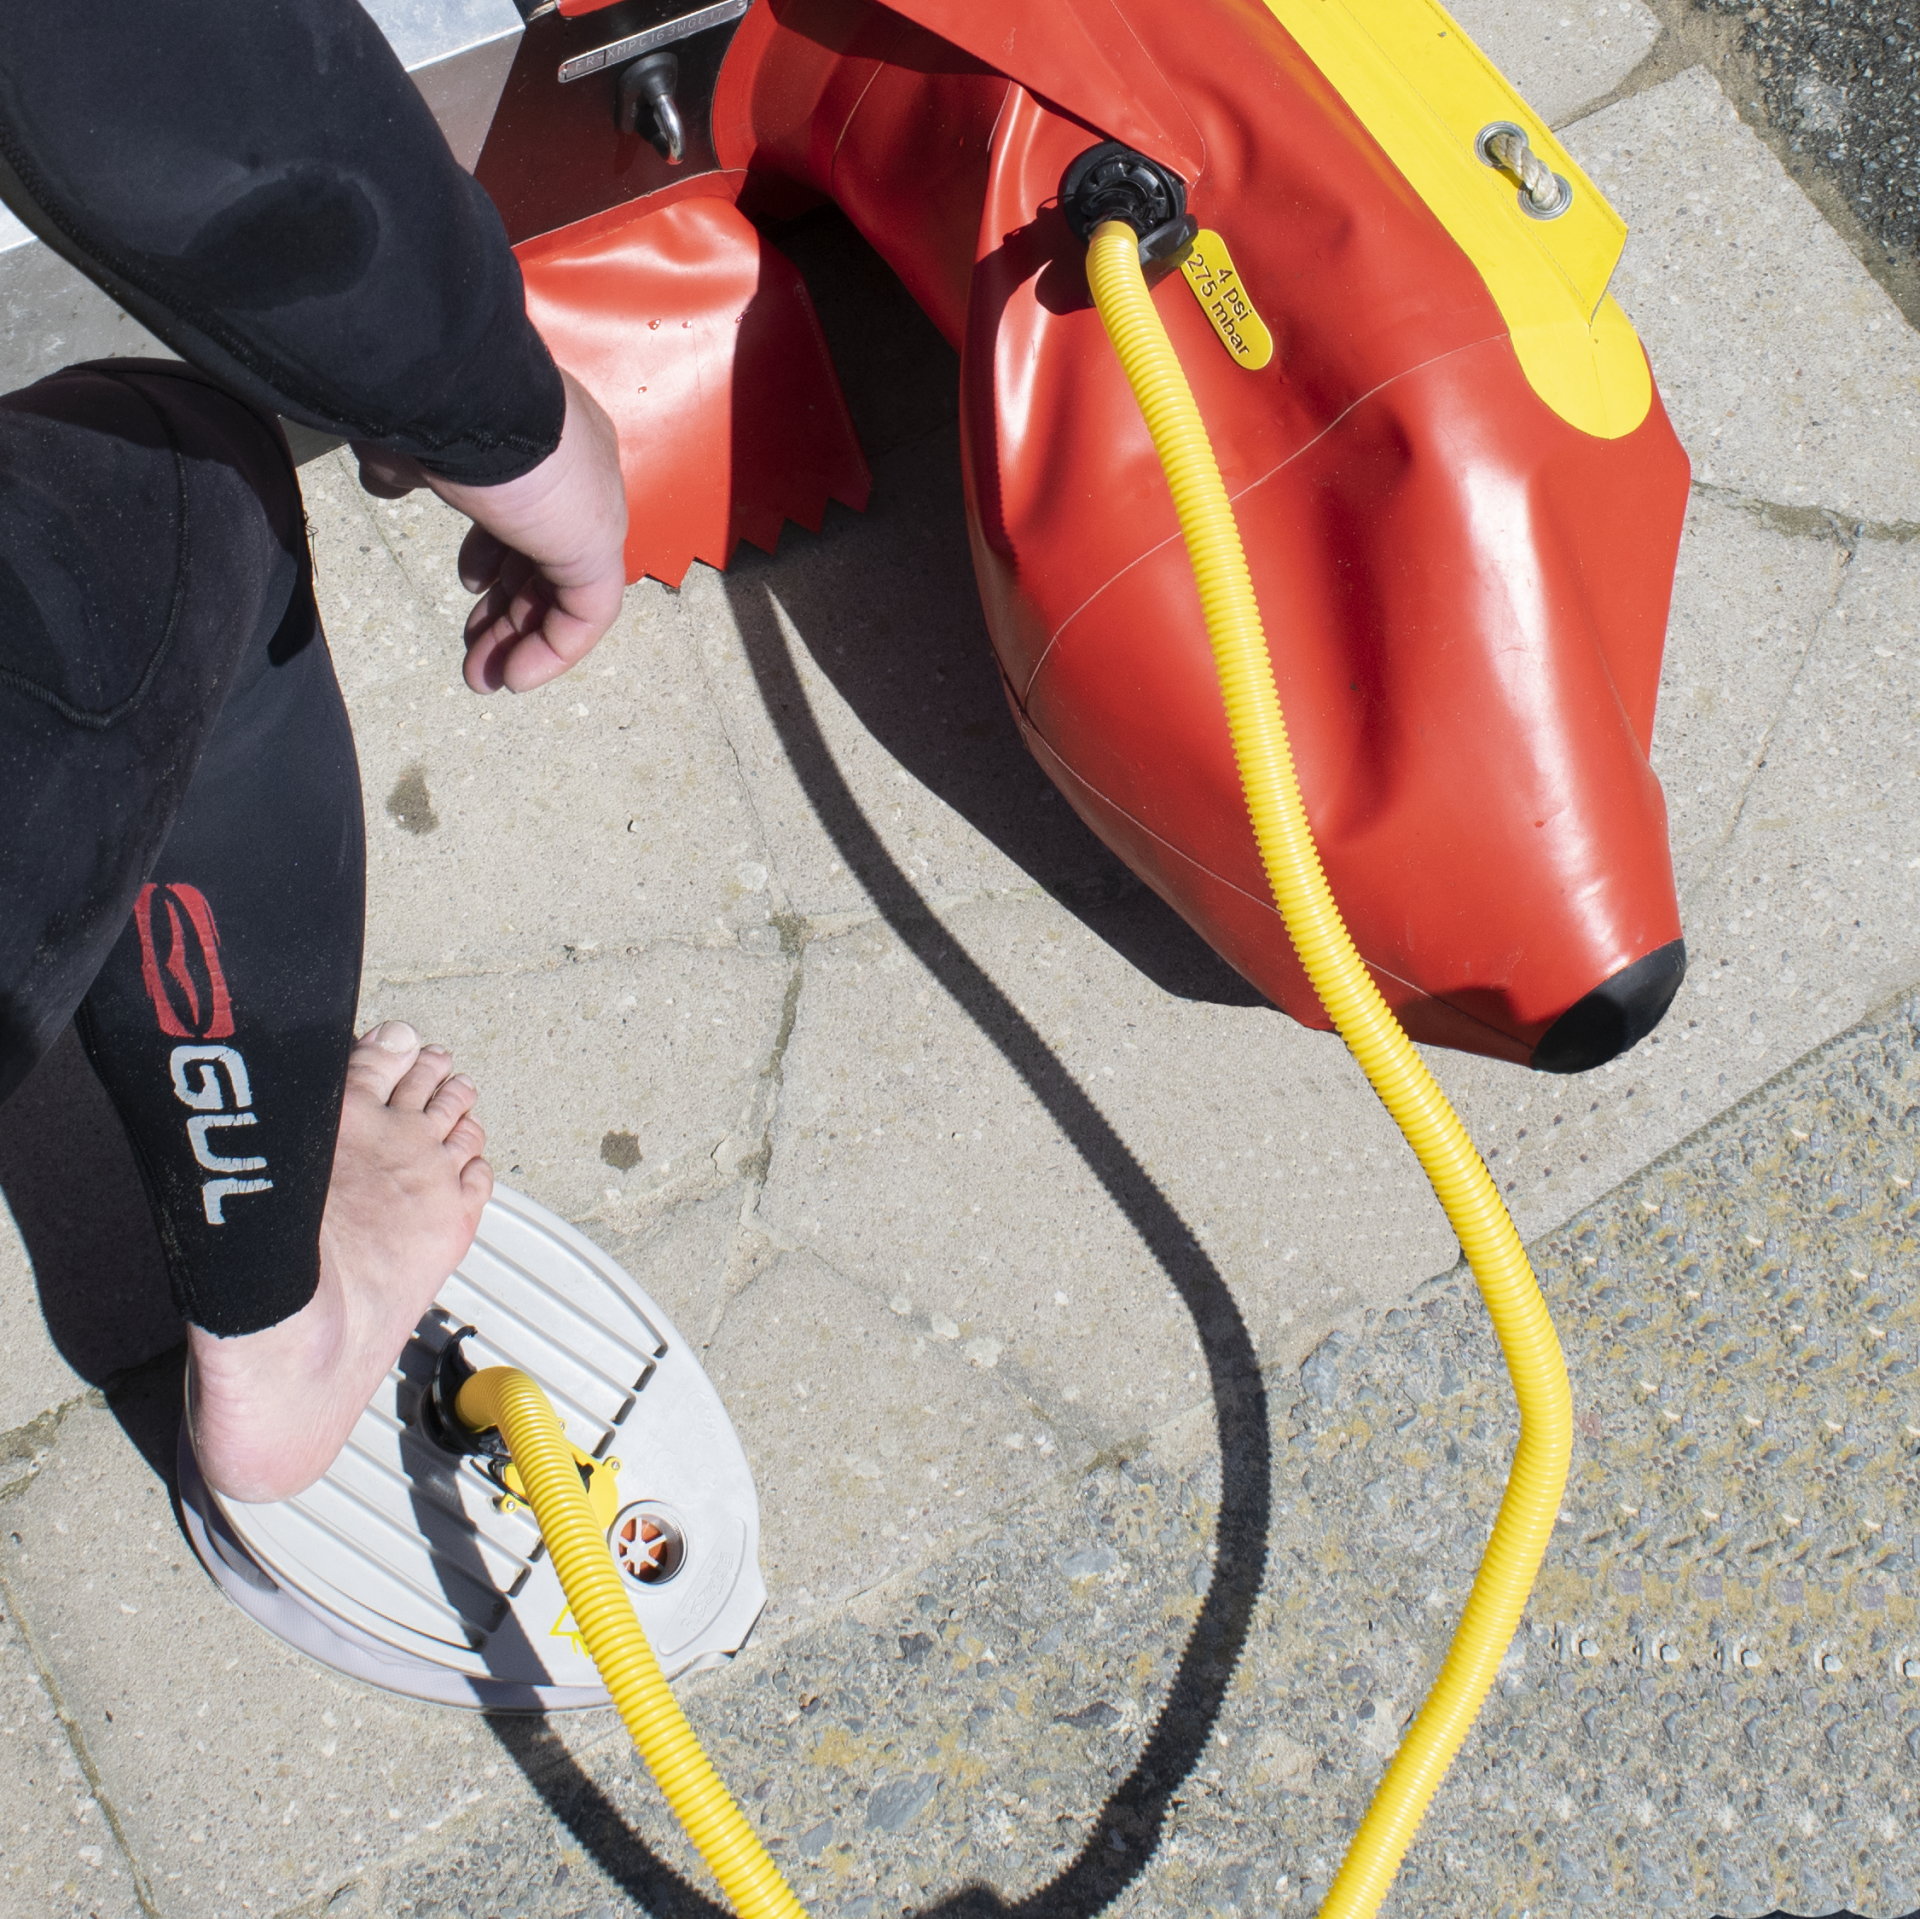
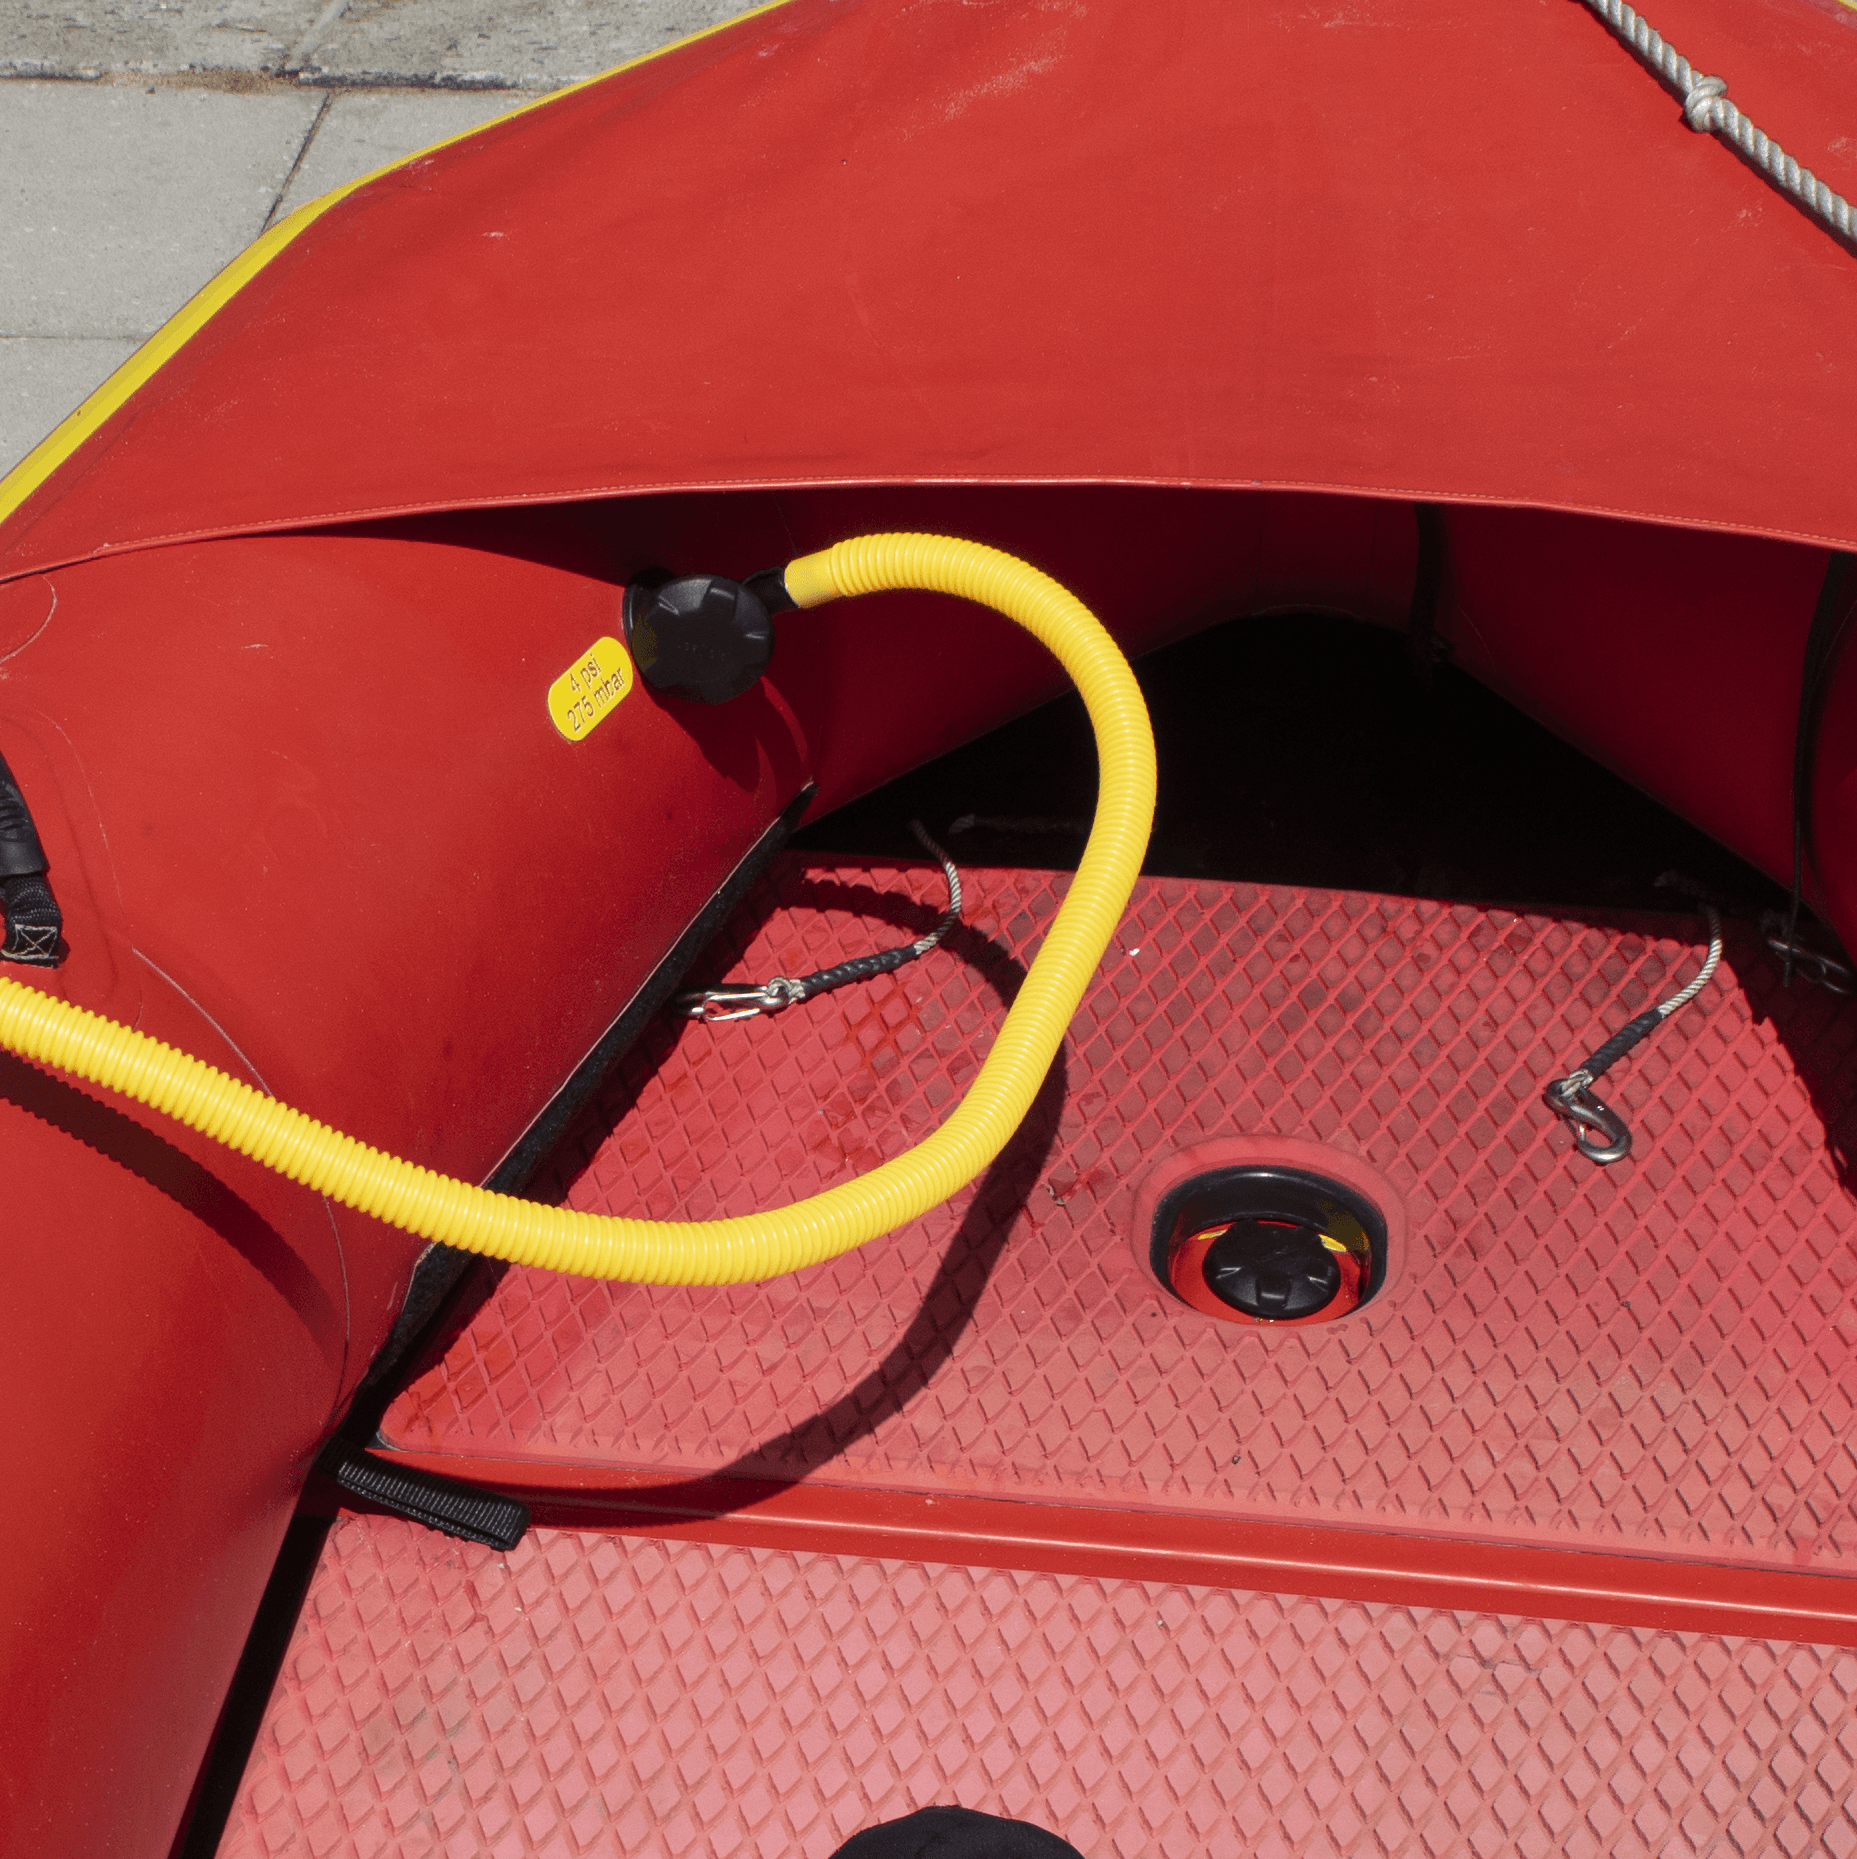
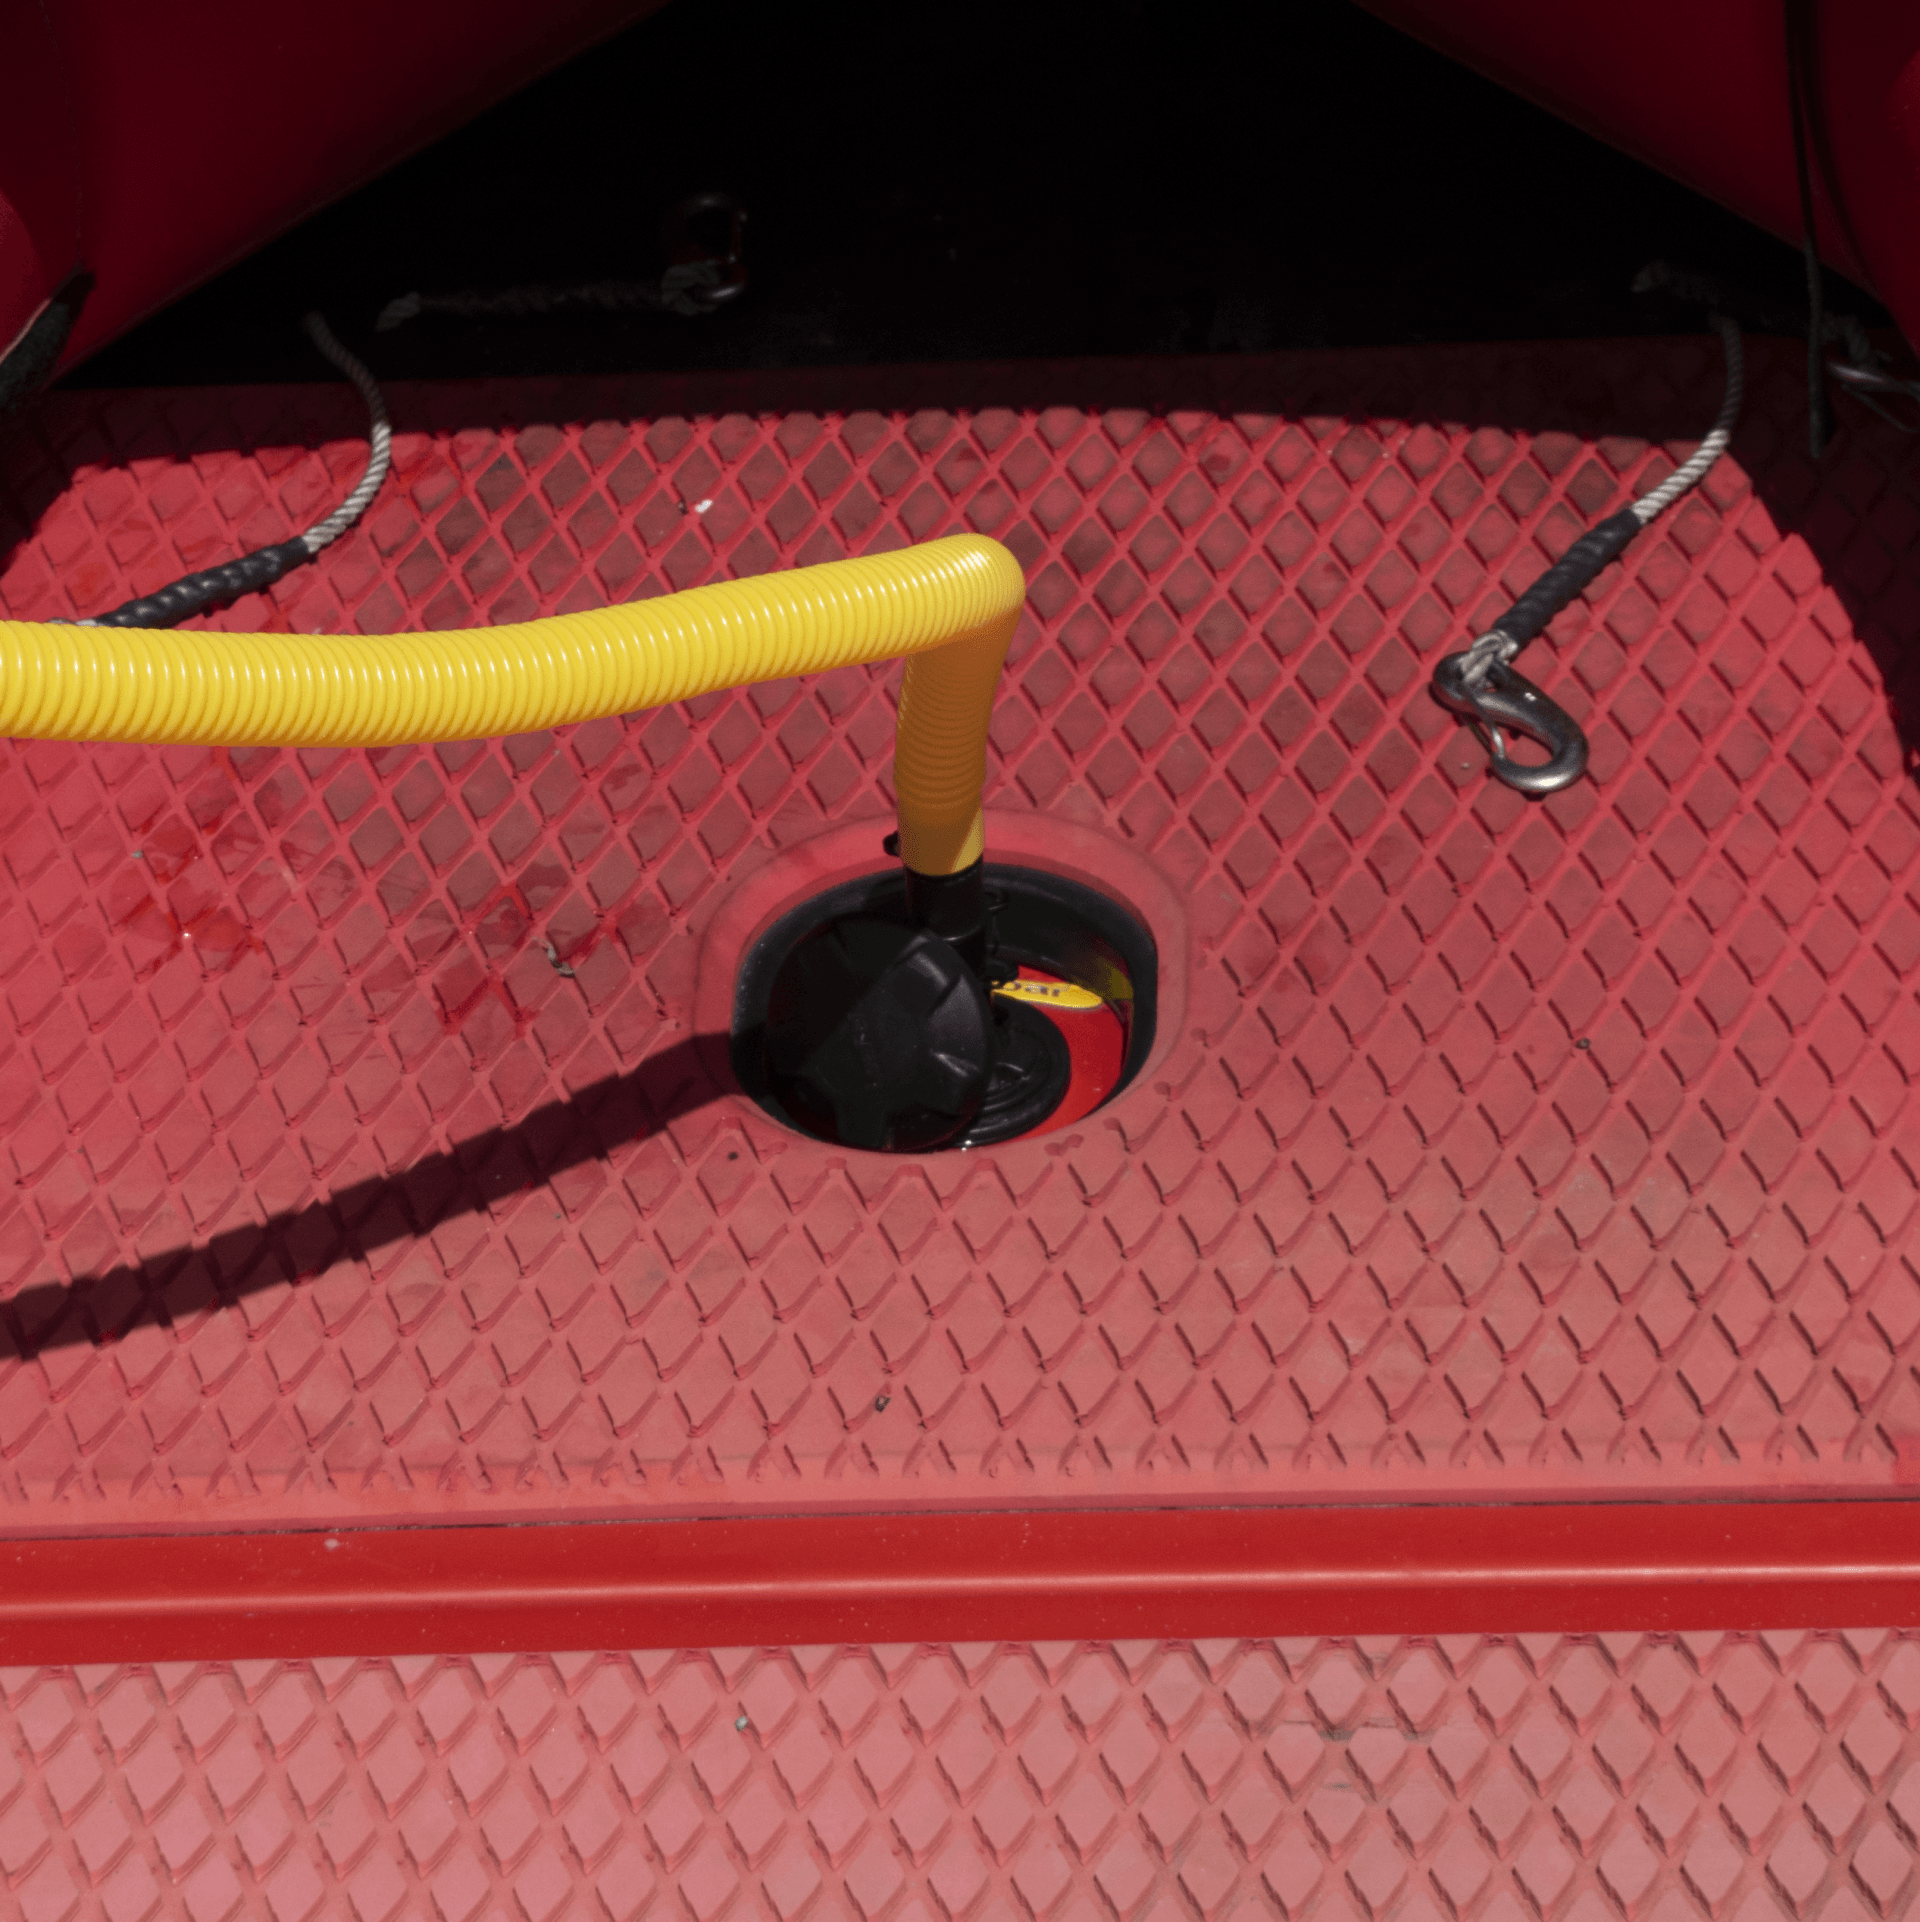
A dirty valve should be first washed out with water to clear sand and dirt and the IRB reinflated.


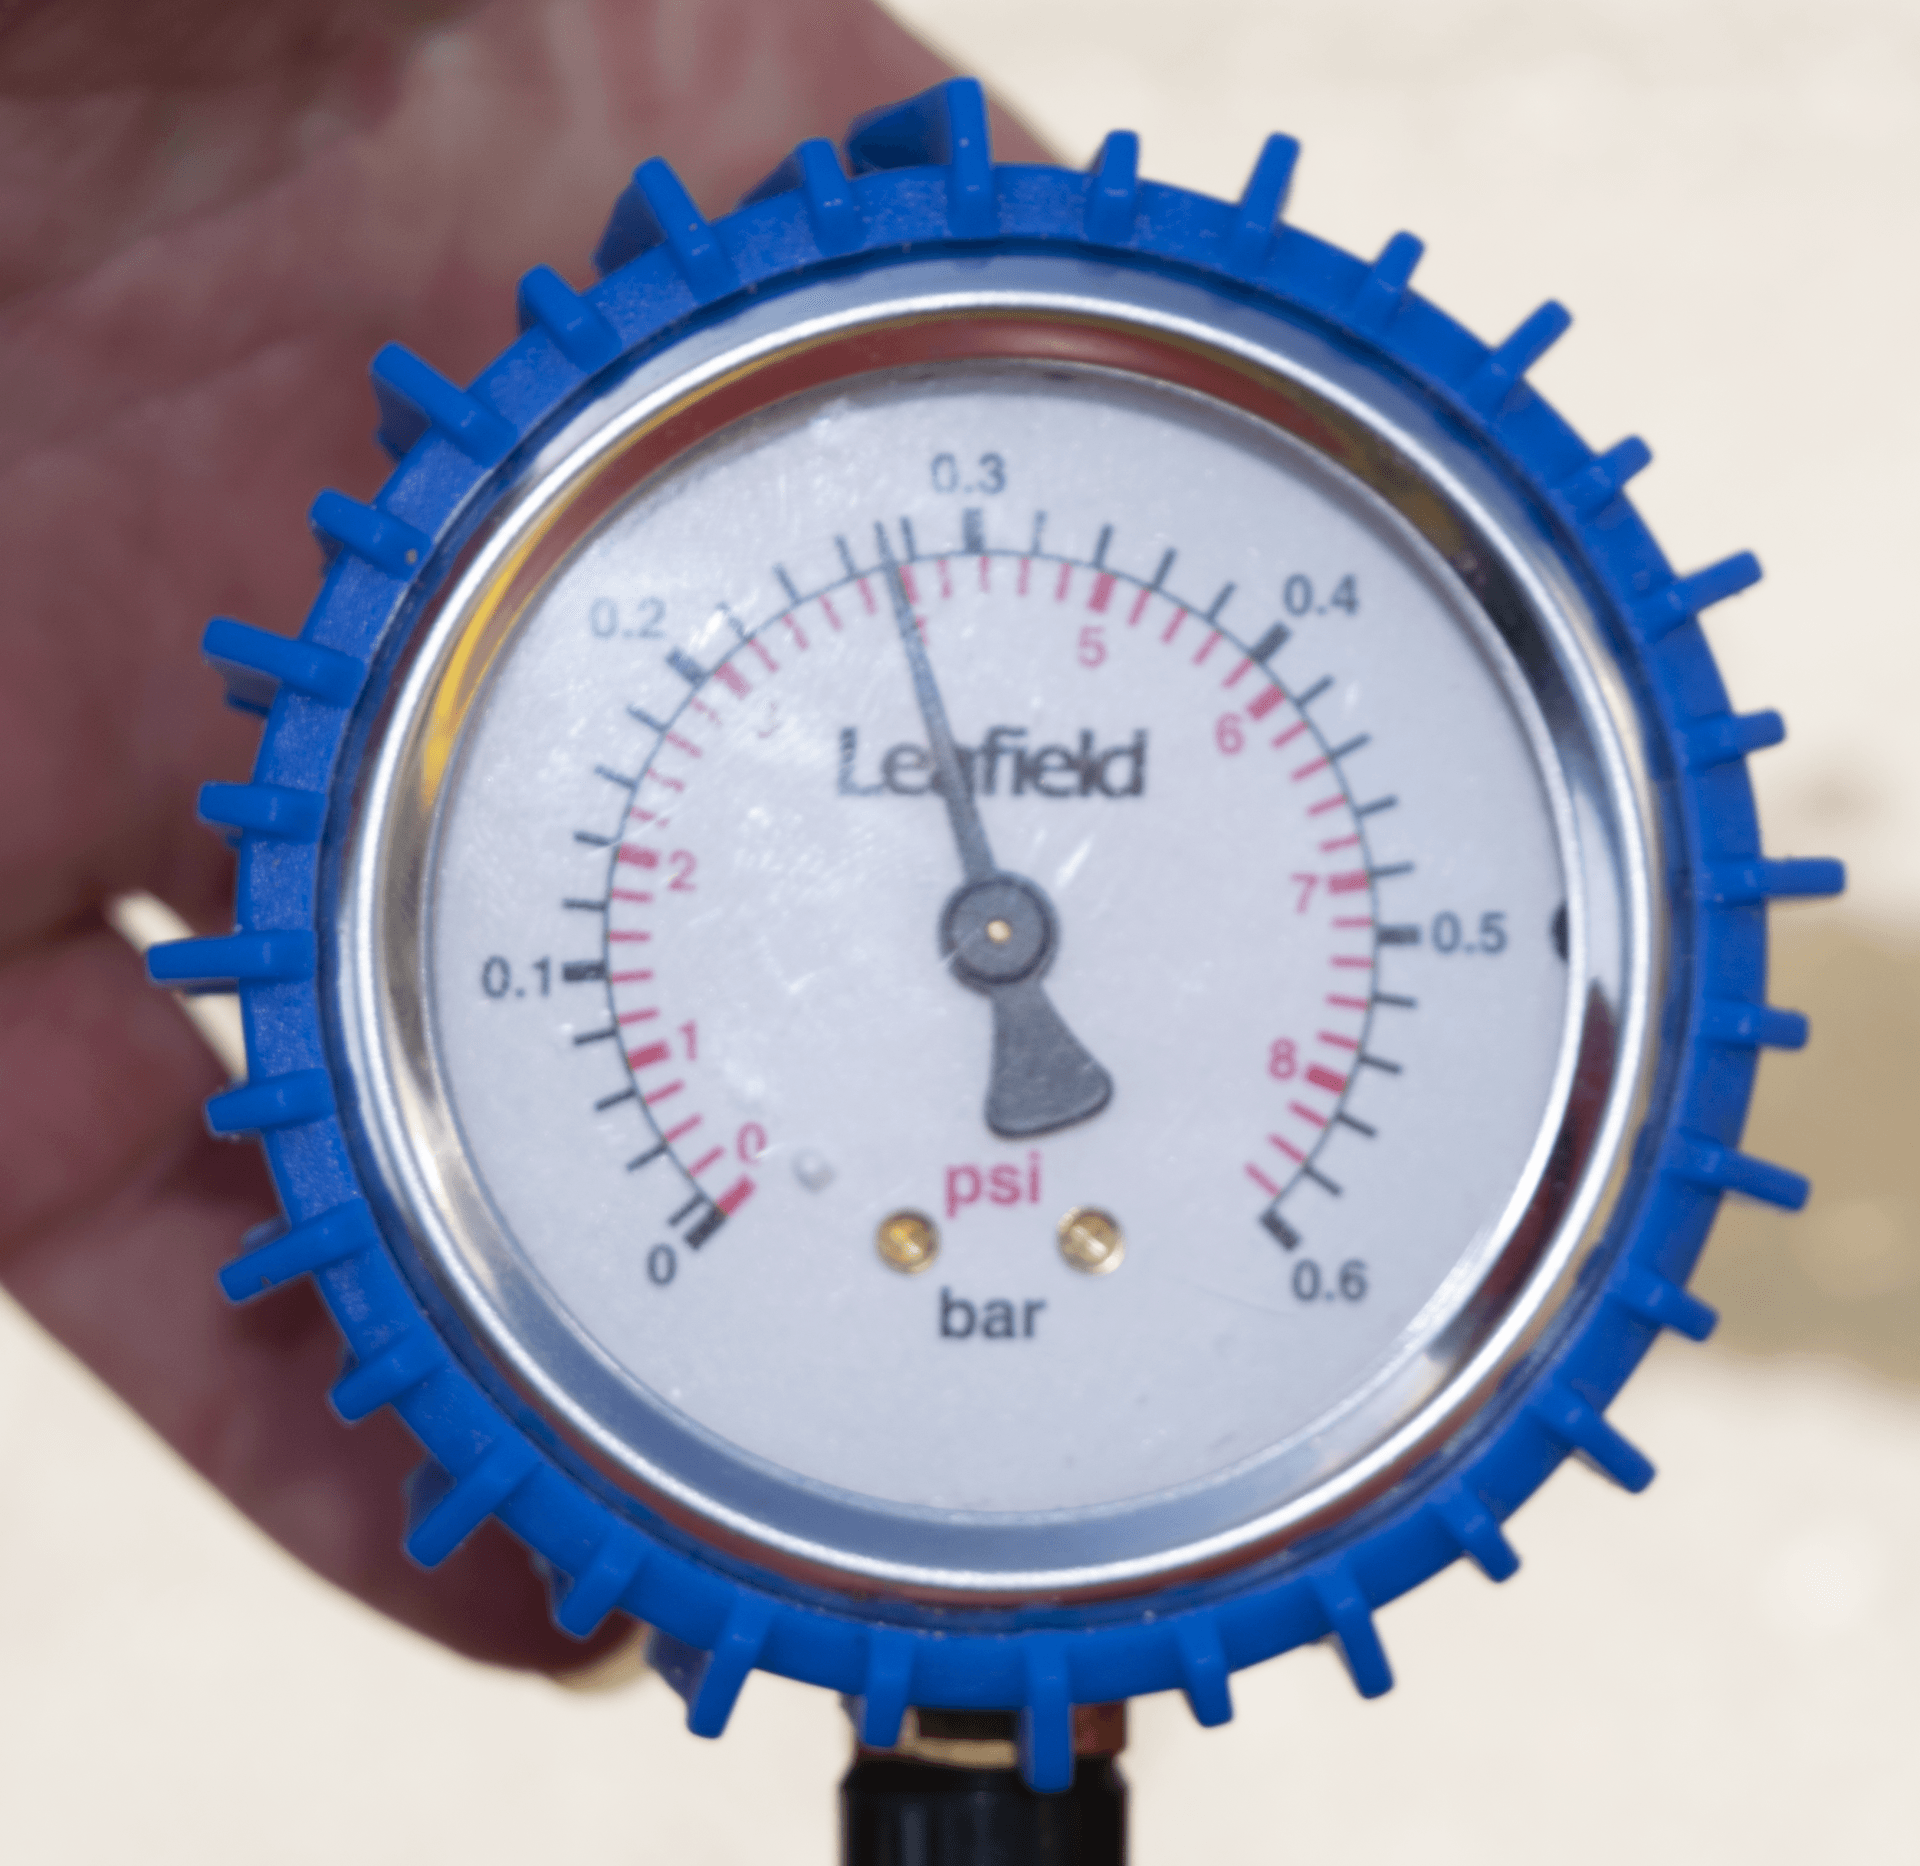
Then using a pressure guage check that  inflation remains constant. Check again at the end of use to ensure integrity of the valve.


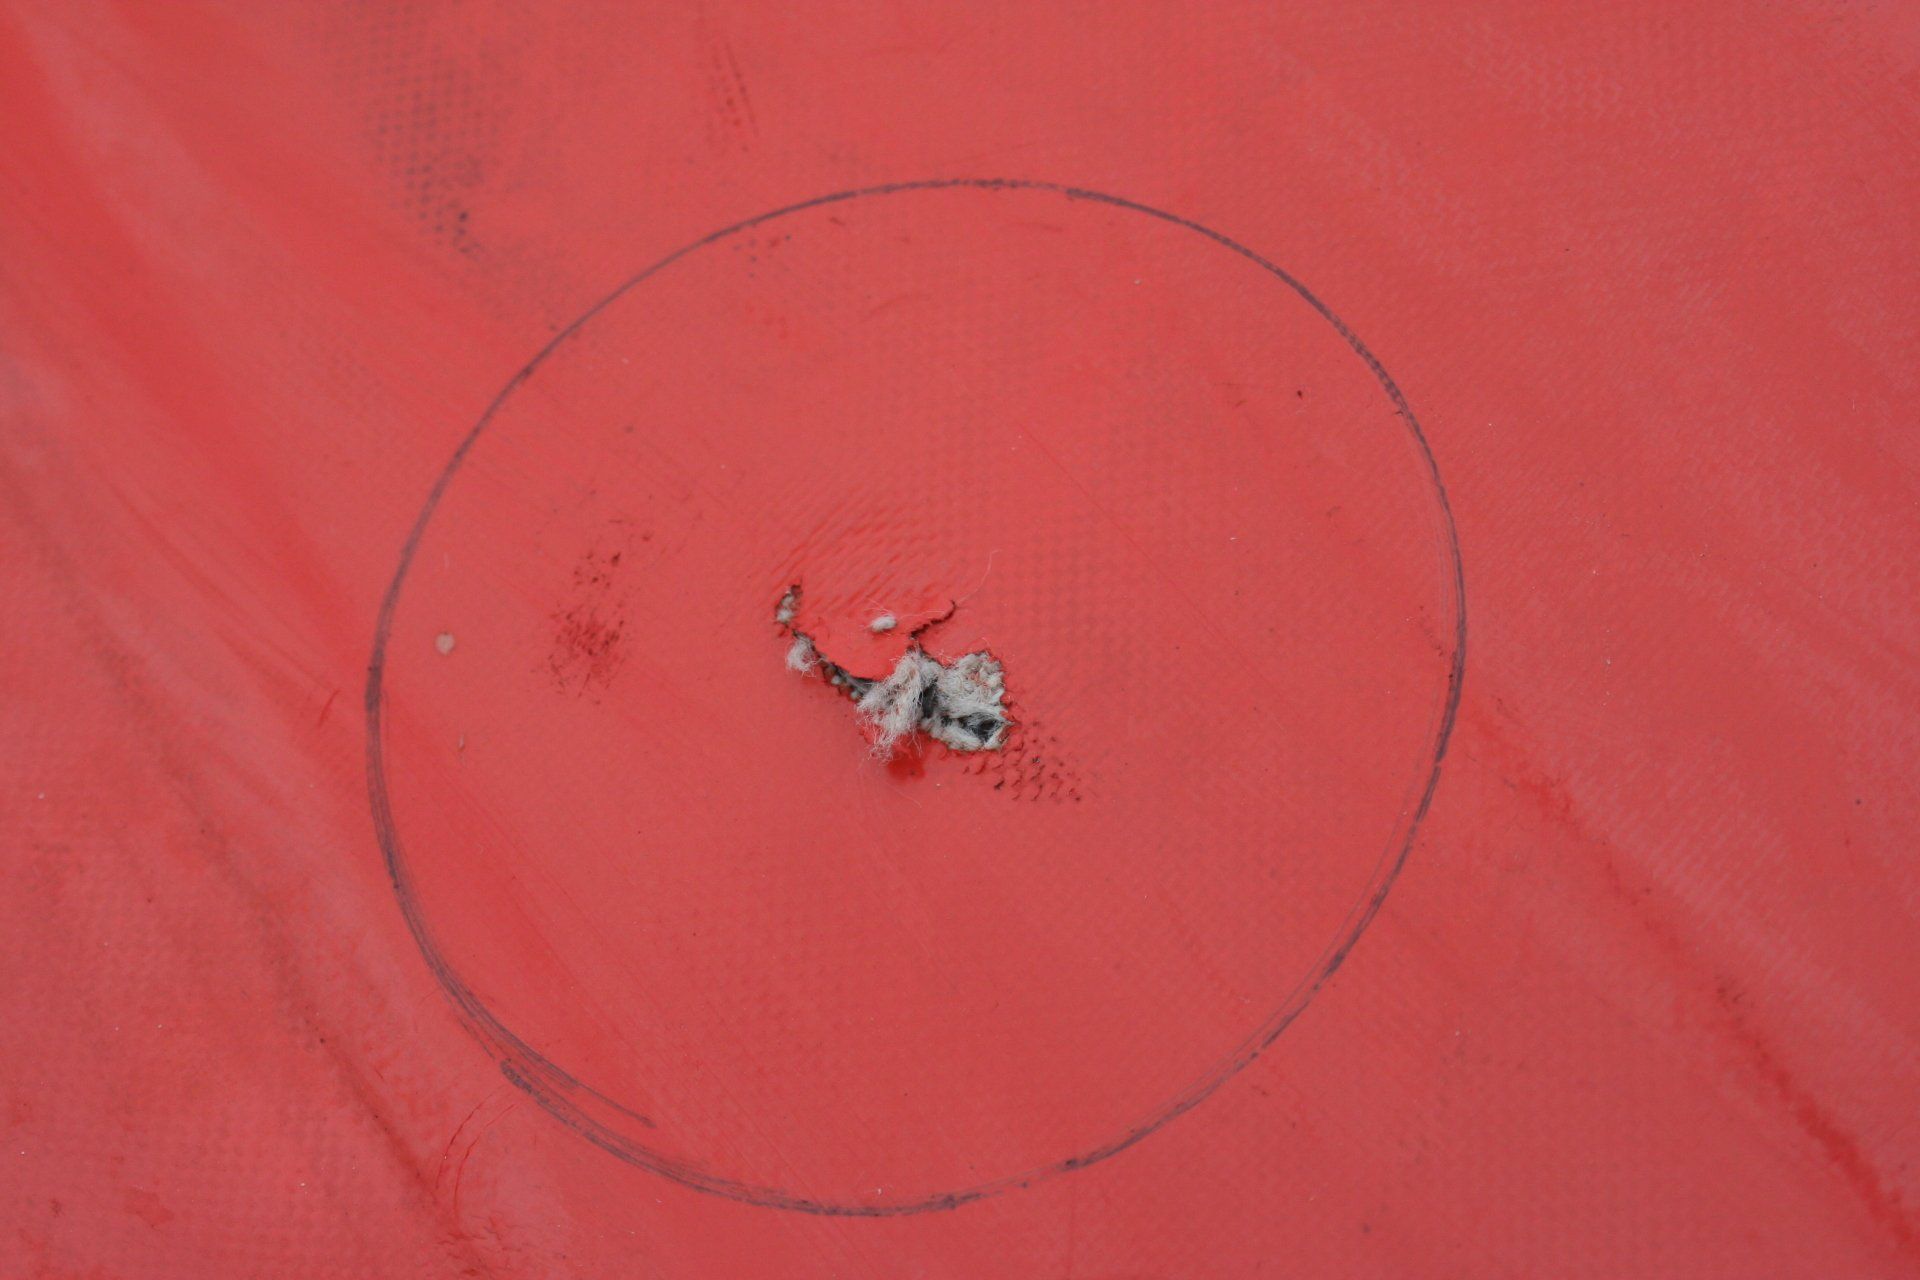
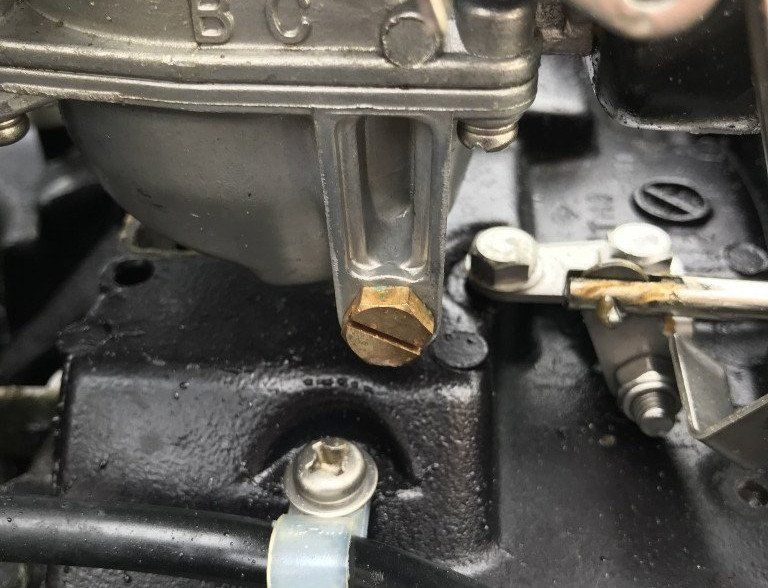
If the pressure is still reducing the sponson or keel may be punctured.

Emergency Repair of a Puncture
Emergency repair of a puncture is conducted using Bostic 2402 or 2405 adhesive or manufacturers recommended adhesive. The steps being given in the following flowchart.

Should damage be sustained to the baffles that separate the buoyancy compartments, the boat should be returned to a recognised IRB service agent for repair, since this is a major task and requires specialist attention.

SLSA Wales recommend that all permanent tube repairs  are carried out by a suitable service centre or original boat manufacturer to avoid presurised substrate, delamination and long term damage.

Safety Advice for Working with Adhesives
Read the supplier’s safety datasheet and container label and follow the advice on them.
Make the most of natural ventilation where appropriate, by opening doors and windows.
Avoid skin contact with adhesives and any products containing solvents.
Do not eat or smoke in areas where there are adhesives and solvents.
Wash thoroughly after working with adhesives and solvents before eating or drinking.
Do not smoke, or use any naked lights in areas which may contain the vapour of adhesives and solvents.

Emergency Repair Procedure

SLSA Wales recommend that all permanent tube repairs  are carried out by a suitable service centre or original boat manufacturer to avoid presurised substrate, delamination and long term damage.
The Motor

Having a reliable motor is key to IRB operations and the key to a reliable motor is good maintenance.
Maintenance
As an IRB coxswain or crew person you need to know:

How to maintain your motor, and,
complete basic maintenance tasks.

Ideally if operating a boat your club should have:
  • A motor identification form.
  • A motor servicing schedule.
These go with the boat servicing schedule as stated in the previous section.

Copies of forms are given in the Download section. Should you not have them you can download these and begin using them.
Adding Fuel to the Fuel Bladder
The bladder must be removed from the IRB and filled on a flat surface. There are a variety of methods for filling fuel bladders including using a funnel, a pouring nozzle or a syphoning hose. It is recommended that a syphoning hose is used where possible.


Fueling Your Motor
Currently all outboard motors used within  Wales are two-stroke motors. These require oil to be mixed with the petrol to lubricate the internal components. Using a two-stroke engine without sufficient oil added to the mix will cause the engine to overheat and seize up.

All fuel should be freshly mixed in the correct proportion of petrol to marine oil as specified by the motor manufacturer. Petrol and oil should be mixed well before transferring to the fuel bladder of the IRB. Petrol should be of the recommended rating and the marine oil should also conform to manufacturers’ specification.

Always fill the fuel bladder in a well-ventilated area, ensuring no ignition sources are nearby. A suitable fire extinguisher (Class B - not water) must be available in an appropriate position close to the refuelling area. Appropriate PPE must be worn. Eye protection and gloves are also recommended.

Fuel Mix
Nearly all the outboard motors used within  Wales use a mixture of fifty parts petrol to one part oil (Marine 2-stroke).

A simple way to calculate the oil mix content is to multiply the petrol quantity by 10 and then double it.

For example:
  • 10 Litres Fuel, 200 ml of Oil.
  • 25 Litres Fuel, 500 ml of Oil.
  • 50 Litres Fuel, 1 Litre of Oil.
It is very difficult to tell if the petrol has had oil added to it and therefore ALL clubs should adhere to a strict policy of no unmixed fuel in the petrol store area. If you are uncertain, add the appropriate amount of oil required in the ratio of 50:1. Mixed fuel may be slightly darker to unmixed.

It is important when the fuel bladder is filled and there is no air left in the bladder. Fill the bladder and gently press down on the upper part of the bladder to purge the air out.

Screw the filler cap on securely once the bladder is full and the air has been purged. It is essential that all air or fuel vapour is removed from the fuel supply, otherwise engine failure could occur.

Wash away any excess fuel, including any on the bladder and also check the bladder for any leaks or damage. Any fuel spilt in the IRB can cause serious damage and make the deck slippery for the crew. Therefore the bladder, fuel line and primer pumps should be checked regularly for any leaks.

Fuel bladders when not in use, must be kept away from direct sunlight as this may cause damage.
Fuel Health and Safety Precautions
  • No smoking and no naked lights in the vicinity.
  • Decant in the open air – not inside a building.
  • Use a pouring spout or funnel; and
  • If clothing is splashed with fuel, change it immediately.
Petroleum vapour can cause irritation of the eyes, nose and throat, and exposure to high concentrations, particularly in confined spaces, can cause dizziness and unconsciousness. Do not swallow petrol or attempt to use your mouth to siphon it under any circumstances. This can result in fuel vapours entering the lungs or stomach, which in some circumstances can be fatal.

Note - Petrol is a highly flammable liquid and any spillage will evaporate to form a flammable, heavier-than-air vapour which is ignited at low temperatures.

Fuel Spill Control
Lifeguard clubs are encouraged to purchase spill kits from approved suppliers.

These kits typically include:
  • 1 Clip-close carry bag.
  • 2 Absorbent cushions 30cm x 35cm.
  • 7 Absorbent pads 40cm x 50cm.
  • 1 Disposal bag & tie.
  • 1 Instruction / front label.
In the absence of such a kit, fuel spillages can be soaked up using sand, sawdust, earth or cat litter. Materials contaminated with petrol should be treated as highly flammable.
Advice on Storing Fuel
Storing fuel in an IRB, workplace, or more importantly at the lifeguard station, presents a potential hazard. Petrol and other fuels give off vapours which are extremely flammable and must be treated with the utmost care.

The Law on Storing Fuel
Storage of fuel at the lifeguard stations or the workplace (unless specifically licensed) is restricted by law to either metal containers with a maximum capacity of 20 litres or approved plastic containers of a maximum 10 litres capacity. These containers should be designed for the purpose, clearly labelled and must be fitted with a screw cap or closure to prevent leakage of liquid or vapour.

The storage area should be well away from the other working areas of the lifeguard station and should be secured, to protect against the possibility of vandalism or arson.

Anyone who wishes to store larger quantities than those mentioned previously, or use larger containers, is required to notify the local Petroleum Licensing Authority (PLA) and to store the petrol in a prescribed manner set out in the Petroleum Spirit (Motor Vehicles etc.) Regulations 1974. Lifeguard clubs who want further details should contact their local PLA. Storage of more than 275 litres (60 gallons) of petrol requires a petrol licence - available via the local PLA.

Fuel First Aid
Eye contact: In case of contact with eyes, rinse immediately with a copious amount of water. Get medical attention if irritation continues.

Skin contact: Wash skin thoroughly with soap and water as soon as reasonably practicable. Remove heavily contaminated clothing and wash underlying skin. In extreme situations of saturation with fuel, drench with water, remove clothing as soon as possible and wash skin with soap and water. Seek medical advice if skin becomes red, swollen or painful.

Inhalation: If exposure to vapour, mists or fumes causes drowsiness, headache, blurred vision or irritation of the eyes, nose or throat, remove immediately to fresh air. Keep patient warm and at rest. If any symptoms persist obtain immediate medical advice.

Unconscious casualties: Must be placed in the recovery position. Monitor breathing and pulse rate and if breathing has failed, or is deemed inadequate, CPR must be started. Send for medical assistance immediately.

Ingestion: If swallowed, DO NOT induce vomiting. Obtain medical attention.


Motor Reinstatement
The following proceedure shows what you should do if your IRB motor has been submerged. Some of this process is also applicable at the start of a patrol to check that the motor is operating correctly.

Reinstatement Proceedure

1. Remove motor from IRB.

2. Place a suitable fire extinguisher close to the engine and ensure no ignition sources near.

3. Ensure kill switch lanyard is disconnected or stop switch is in the OFF position.

4. Remove motor cowling.

5. Wash motor with fresh water and then spray with a water repellent WD40 or similar.

6. Remove carburettor drain screw.


7. Squeeze fuel bulb to flush carburettor clean of water.

8. Refit carburettor, drain screw.

9. Remove spark plugs.

10. Lay motor face down on the ground.

11. Pull starter cord 20 to 30 times to expel all water from inside cylinders.

12. Stand motor upright and pour / squirt approximately 50mls (1 egg cup) of fuel into each spark plug hole.

13. Lay motor down as per step (10).

14. Pull starter cord 20 to 30 times to expel all fuel from inside cylinders.

15. Clean and refit spark plugs with new  plugs if available.


16. Prime fuel into carburettor.

17. Pull choke out.

18. Refit kill switch lanyard or place stop switch to the RUN position.

19. Engage re-coil and re-start motor - do not dry run. Use the motor start procedure as shown in the Launch and Recovery section.

20. If motor fails to start repeat from step 5 to step 18.

21. Run motor for a minimum of 30 minutes in the sea.

If motor fails to run correctly contact the IRB Officer or your local Marine Dealer to arrange the motor to be checked throughly.

23. Fill out IRB log book noting capsize.

Share by: